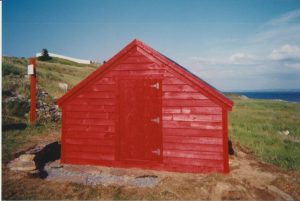
Cellars, Step by Step
Root cellar reconstruction is no easy task. In 2003, the Bay Roberts Heritage Society Inc. undertook a heritage project that focused on the areas of Mad Rock, Juggler’s Cove, French’s Cove, and Mercer’s Cove. These areas were once occupied by Jersey fishermen and are now a part of the current community of Bay Roberts. One goal of this project was to restore some of the traditional root cellars located in these areas.
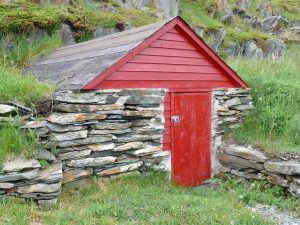
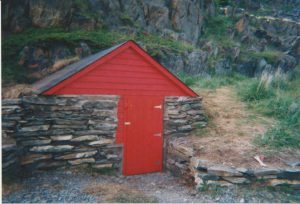
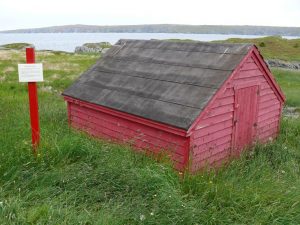
The project resulted in two different types of root cellars that were in ruins being restored, one in French’s Cove and the other in Juggler’s Cove, shown below.
French’s Cove Root Cellar
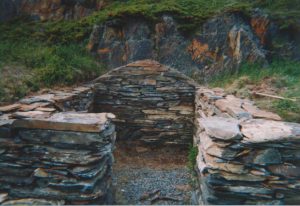
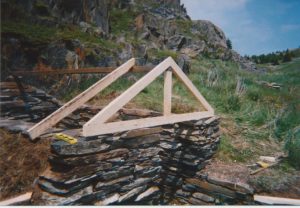
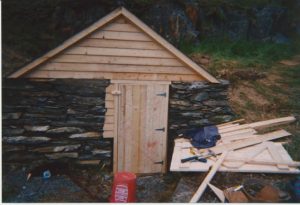
This is a hillside cellar with stacked stone foundations and a missing top structure was restored. The reconstruction of this hillside cellar step by step follows:
Stage One: Assess the foundations; sometimes when a root cellar is in ruins, you need to source more stones, or the foundations need to be re-stacked, or reinforced.
Stage Two: Construct the structure for the wooden shed. This type of root cellar involved building a wooden roof structure.
Stage Three: Build the wooden shed structure, shingle the roof, and install the ground level entrance door into the root cellar.
Stage Four: Add the finishing touches! This includes painting and tidying up the appearance of the root cellar’s exterior.
Juggler’s Cove Root Cellar
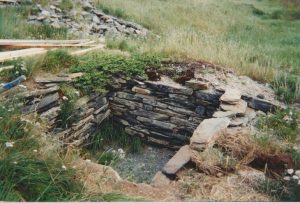
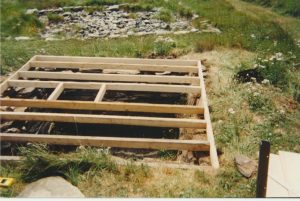
This type of cellar is also known as a hatch and shed cellar and was dug into the ground and built with stacked stone foundations. There would have been a structure on top of the stone foundations. The step by step reconstruction of this cellar is:
Stage One: Assess the root cellar’s foundations. Re-stack, fix, and/or source new stones to complete the cellar foundation restoration.
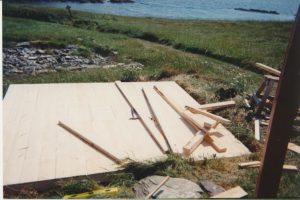
Stage Two: Construct the foundation of the shed floor. Pictured above, is the wooden floor joists and the space for what will become the hatch door entrance into the cellar below.
Stage Three: Complete the shed floor. This includes laying and fastening the wooden floor boards.
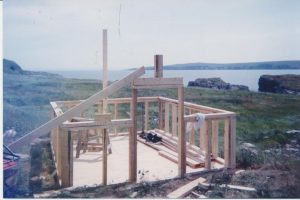
Stage Four: Begin to build the structural components of the wooden shed structure.
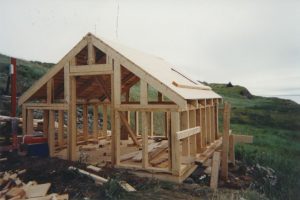
Stage Five: Finish constructing the shed structure, including the walls and roof.
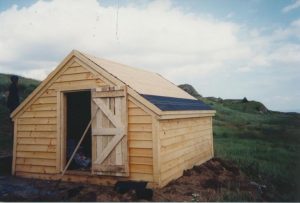
Stage Six: Complete construction of the wooden shed structure. Here, the shed is complete, the walls are done, the roof is being shingled, and a door has been made to allow for ground level entry into the top shed which covers the hatch entrance into the below root cellar.
Stage Seven: Finish the root cellar! In this last stage, the wooden shed is painted and the area surrounding the root cellar is cleaned up.
One problem encountered in restoring these root cellars was finding new field stones without disturbing any other historical features. Because the cellars were in ruins, new stones were needed to complete the foundations. The restoration project was able to successfully locate stones in waste areas.
There is no universal guide to restoring root cellars because every root cellar is unique in its type, design, construction, and the materials used. In Newfoundland and Labrador, there are five types of root cellars: hatch and shed, hillside, above ground, dual entrance, and above ground hatch cellars, each slightly different from the other.


